Showing posts with label makeup. Show all posts

Tuesday, January 26, 2016

Eyebrows

The one thing I always wish I could have been born with; Perfect Eyebrows. Instead I have basically no shape to my natural brows. Here's my trick to getting my brows to look more arched than they really are. Everyone has different eyebrows but you could apply this technique to any shape and get the results you want.


Lets talk about the product I used in this post before we dive in. Its Benefit's 'Brow Zings' and I am in love! It has two different things in it which for me, are both necessities when it comes to doing my brows. First it has eyebrow wax. If you have never used a waxy brow product, I suggest you try it out a.s.a.p. It will change your life! The wax makes it so easy to apply, and it also helps with keeping your hairs in place. The second thing it has is eyebrow powder. I find that since I am over-drawing my arch area, I need some powder on top of the wax to help it blend in with my natural brow. This kit also comes with two mini brushes and mini tweezers for on the go!


My sister has pretty good brows and doesn't need powder so she uses Anastasia Dip Brow and thinks its been sent down from makeup heaven. It's also about $10 cheaper than the brow zings but it doesn't come with the brushes or the tweezers. If you have good brows and don't need to over-draw your arch or anything, I would go with the Dip Brow.

Using the angled brush from the brow zings kit, I always start on the arch of the brow first. Outline the shape you want your arch to be, but be careful not to stray too far from your actual hairs or it will
be way noticeable.


Start filling in your brows using the wax starting at the bottom and working your way up and out towards the tip. Don't start filling in the inner corner yet or it will get really dark, really fast.


Make a line connecting the bottom of the inner corner to the rest of the brow.


Without any extra product on your brush, blend that line up and over until all of your brow is filled in.


Now in the picture above, if you look closely you can tell where my actual eyebrow hairs are and where it is filled in. To help fix this problem, take some powder from the brow zings kit and fill in this area. See the difference that makes by looking closely at the picture below.


After your brows are all filled in, take some eyebrow gel and apply it to your brows. When I use eyebrow gel I always push the hairs upwards and spread them out over where I filled in the arch to help minimize the appearance of a drawn on eyebrow, and then just take the gel brush and clean up the hairs so they are in the lines of your eyebrows.


Now a big problem I used to have was trying to make my eyebrows look the EXACT same. I could spend a whole hour just trying to get my eyebrows to be identical. Here's the secret. Most natural eyebrows aren't the exact same anyway. Your eyebrows are sisters, not twins. 99% of people aren't going to be staring your brows down and won't really notice if they are a little off anyway. Hope this helps with those of you out there wanting better eyebrows than what you were born with!(:


Products Used & Talked About

Mary Kay Eyebrow Gel (see local distributor) 


Sunday, January 17, 2016

Before and After

Here is another before and after picture using the same techniques in my previous post here. Cidnie was so awesome to let me do her makeup for my blog!


Thursday, January 14, 2016

Every Day Flawless Foundation


Every girl wants flawless skin, at least I know I do. This makeup tutorial will teach you how to correctly apply foundation, concealer and how to contour and highlight to achieve that flawless look. I will list everything used at the bottom of the post!

The first thing you are going to want to do is moisturize. Moisturizing your skin is such an important step that you cannot skip! I like to use one that has an spf of at least fifteen. Spf is important because it adds that extra protection against the sun which ages your skin prematurely. Another plus of using a moisturizer is that it helps your foundation go on smoother. In this tutorial I used "hope in a jar" which you can get at Ulta.


After you moisturize, let it soak in your skin for at least 5 minutes before you apply a primer. Primer is not necessary, but they have all kinds out there that help with different things such as: long-wearing, pore shrinking, mattefiying and many others. I used the "Becca Ever-Matte Poreless Primer" from Sephora.


Once your primer has set, you can move on to foundation. My favorite foundation right now is the liquid foundation from Becca. It's a build-able medium to full coverage foundation. Use a beauty blender to blend your foundation all over your face and neck/jaw line. Make sure blend very well in this area because no one likes a noticeable line.

(after foundation, before concealer)

Next up, concealing the under eye area. I used the "tarte creaseless" concealer from Sephora. Instead of concealing in a half circle right under the eye, you are going to want to conceal in an inverted triangle shape. You can use the mini beauty blender or your finger for this area. You want to use tapping motions or you'll just push all the product around. If you go from the outer corner of your eye towards the inner corner it will help the concealer not crease. Setting the under eye area with powder will also help with the creasing. I usually use the banana powder from the Anastasia Beverly Hills contour kit but today I used "makeup forever HD high definition powder."


Look at how much of a difference adding concealer to your routine makes!

I contoured ambers face using the "Anastasia Beverly Hills Contour Kit" with the deepest shade they have. I believe it's called "Fawn." Whenever you contour don't forget to shade in the top corners of your forehead to even out the color. After your contour, apply some blush to the top of the cheekbones. Today I used Mary Kay in the shade, "Citrus Bloom." I love to highlight the tops of the cheekbones and the Cupid's bow with Becca's "Champagne Pop."

Becca's "Champagne Pop"


Today I used "Too Face Chocolate Bar" to create a natural eyeshadow look. Always start with the light colors first and work your way towards the darker shades. I will do an in depth eye shadow tutorial in a future post.


You can finish off with just Mascara or add some eyeliner for a more defined look. For this look I used "Stilla Liquid Eyeliner Pen." I also filled in Amber's eyebrows using Benefit "Brow Zings."
Set everything with a setting spray, I used "Urban Decay's All Nighter Setting Spray." 

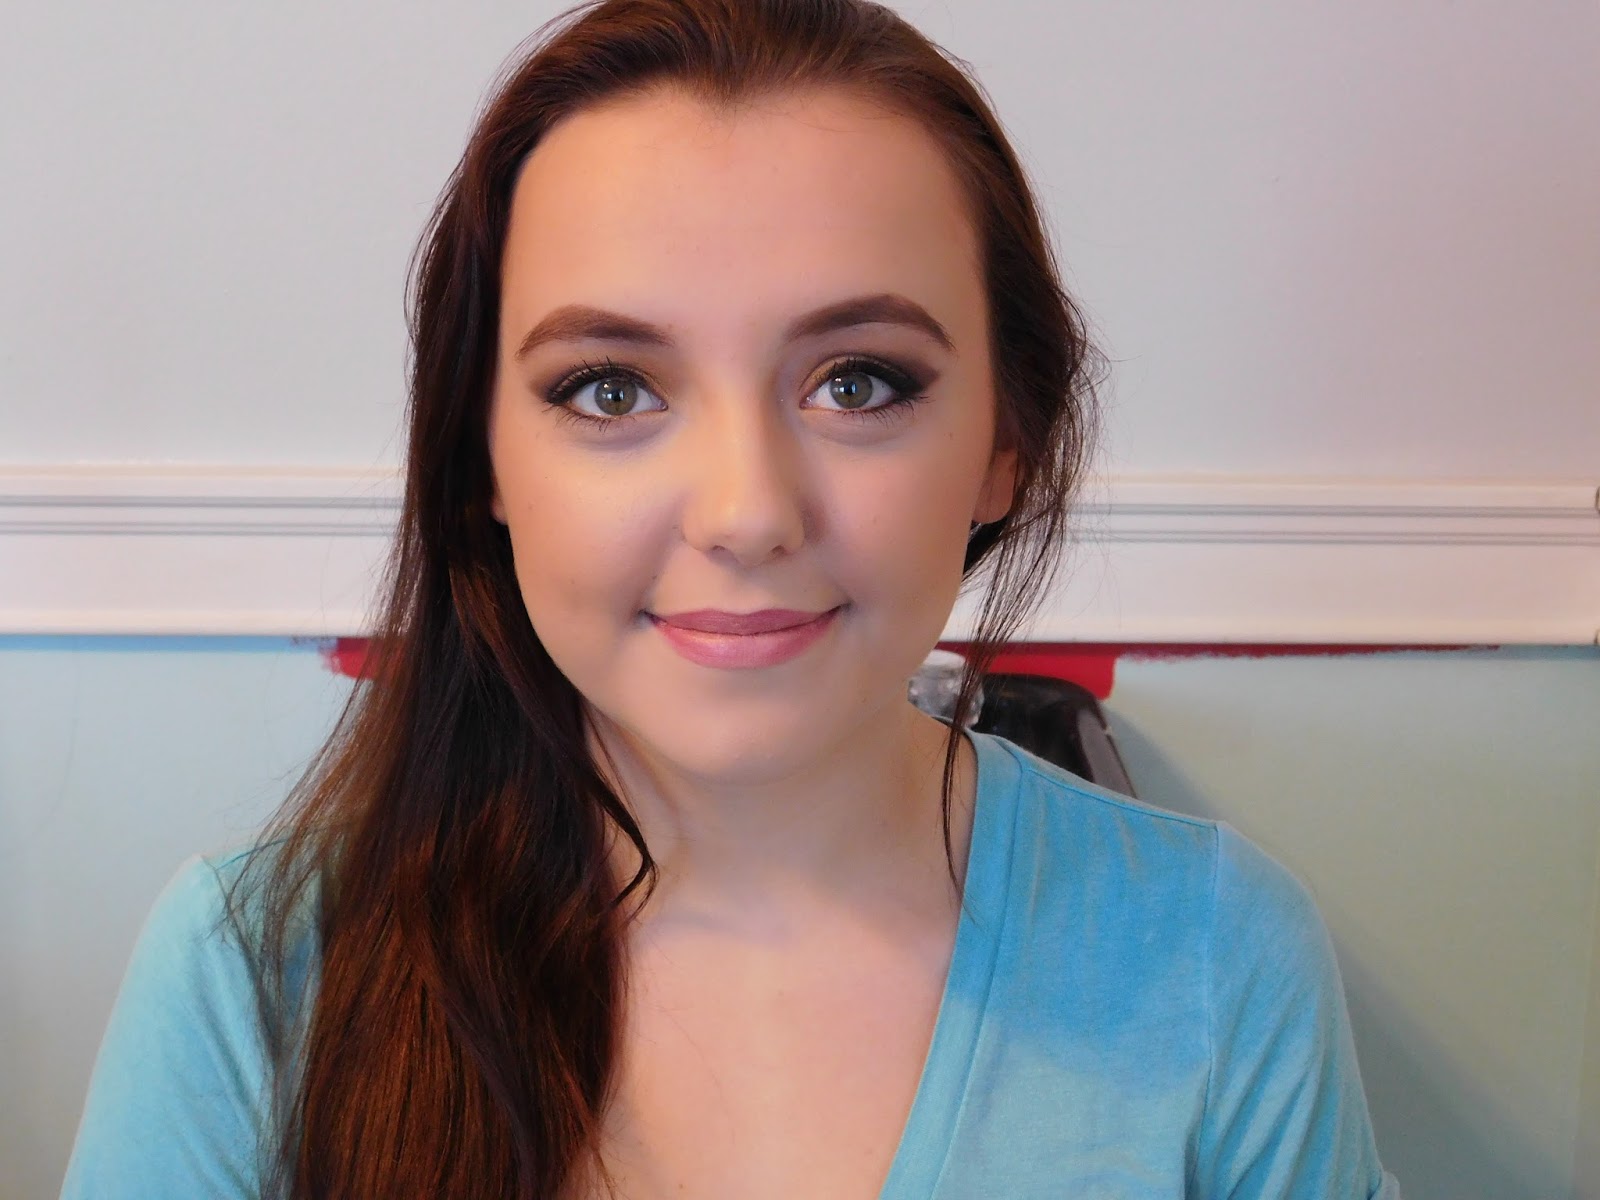
 Now you should have a natural, flawless looking face!


Products Used:
Mary Kay Blush (see local distributor)