Monday, January 18, 2016

Fun Questions for Husband!

Okay I will admit that I laughed way too hard at some of Damian's answers. Mostly because they were way random and not what I was expecting! Try it out, you may be surprised!


Without any prompting ask your husband these questions and write down EXACTLY what he says... Then let him ask you. Super cute and fun for couples

1. What is something your wife always says to you? I love you

2. What makes your wife happy? When I'm lovey dovey and do nice things

3. What makes your wife sad? Animal cruelty 

4. How does your wife make you laugh? When you laugh about something I laugh about something  

5. What was your wife like as a child? I don't know

6. How old is your wife? 20

7. How tall is your wife? 5'4" 

8. What is her favorite thing to do? Crafty things. And cuddling with me and tank.

9. If your wife becomes famous what will it be for? Because I became famous first. Like the First Lady.

10. What is your wife really good at? Taking care of me

11. What does your wife do when you're not around? Sleep and clean

12. What is your wife not very good at? Saving money.

13. What does your wife do for a job? Takes care of me. And old people. 

14. What is your wife's favorite food? Tostadas

15. What makes you proud of your wife? How grown up she is and how easy it was for her to be a good wife and mom to tank.

16. If your wife were a character, who would she be? Katniss. Because she would take tank or our kids spot if they were put in danger. Or Lois from family guy. (haha totally random, right??)

17. How are you and your wife the same? We like the same food, movies, and like to be lazy sometimes. We both want to be successful and we both like to eat(: 

18. How are you and your wife different? I don't like to spend money and she does. And she likes to read and I don't.

19. How do you know your wife loves you? Cause she takes care of me and does everything for me! 

20. What does your wife like most about you? My handsomeness and great personality that only she understands. 

21. Where is your wife's favorite place to go? Hawaii.


Sunday, January 17, 2016

Before and After

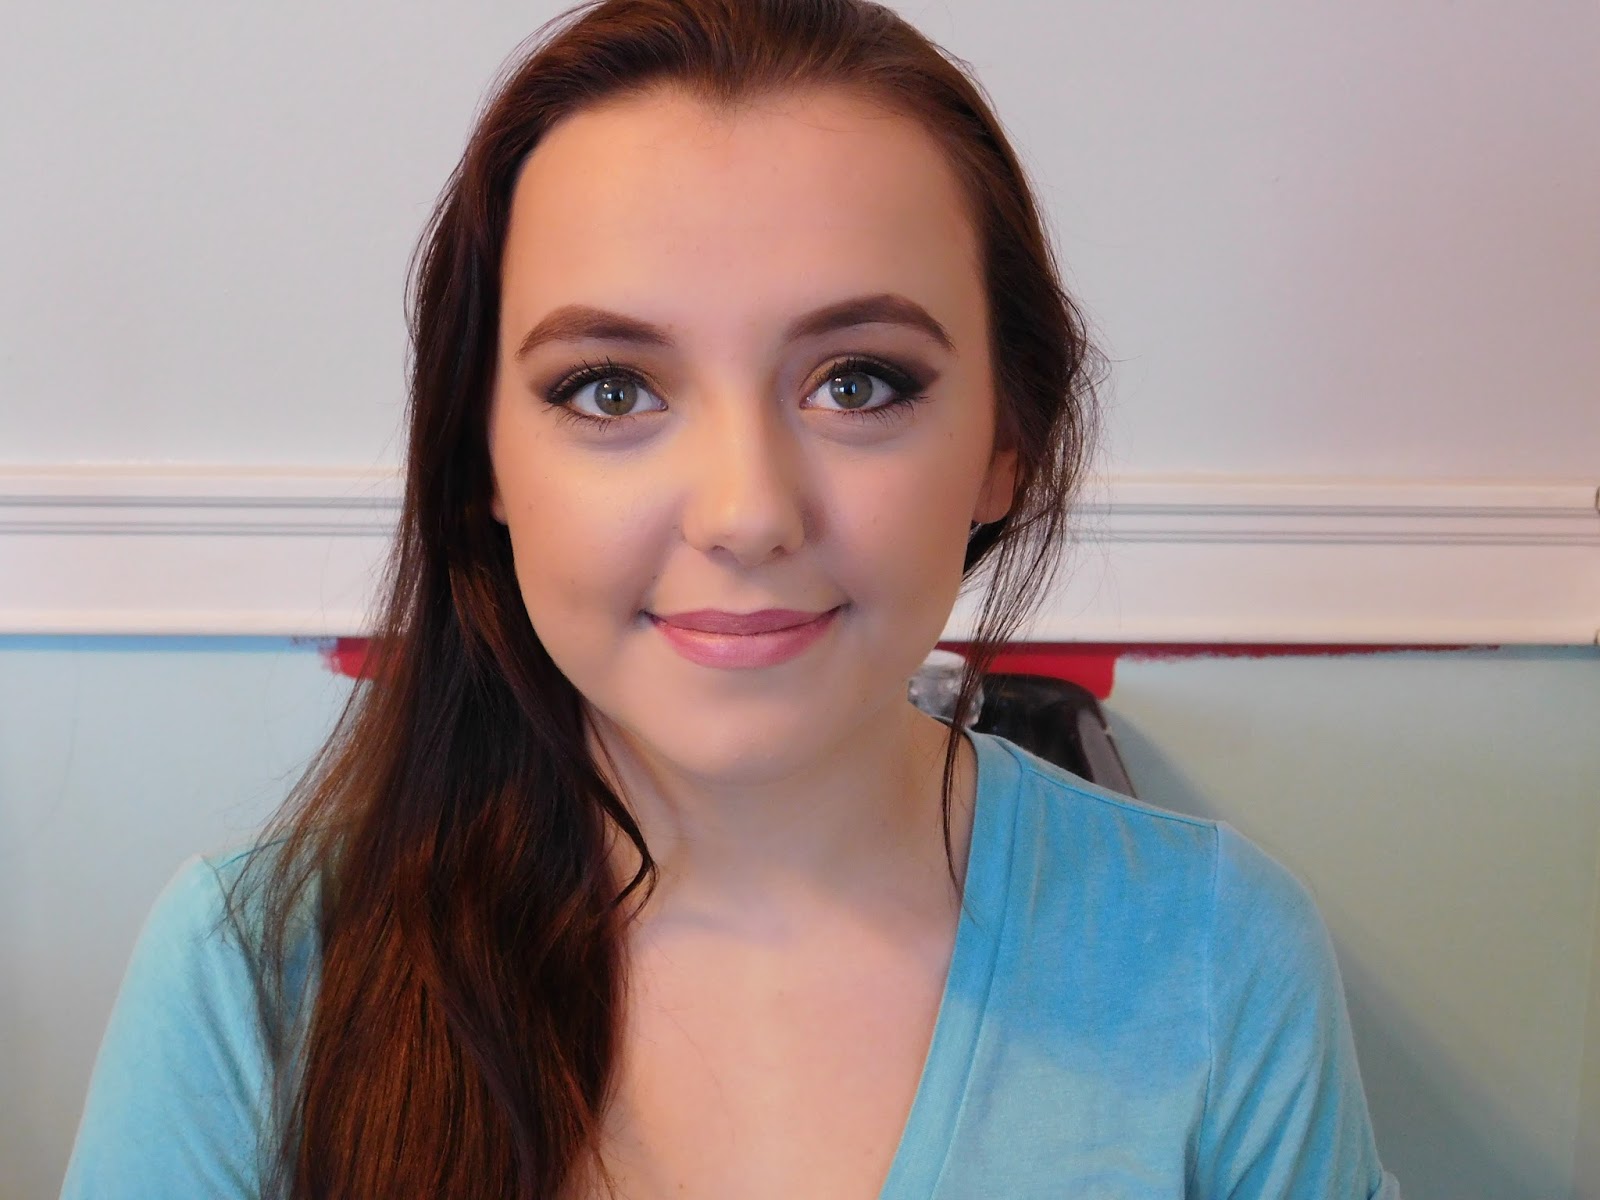
Here is another before and after picture using the same techniques in my previous post here. Cidnie was so awesome to let me do her makeup for my blog!


Thursday, January 14, 2016

Easy Chicken Rolls

In a pinch and need something yummy to make for dinner? These chicken rolls are so good and so easy! 

Ingredients:
2 small rolls pills burry crescent rolls
1 pkg cream cheese
1 can chicken or left over chicken shredded
1/2 stick butter melted in bowl
Bread crumbs, potato chips or something crunchy for the topping
1 can cream of chicken 
1/4 C Milk

Mix cream cheese and chicken together in bowl.


Unroll your crescent rolls and place a spoonful of chicken mixture inside roll. 


Dip in melted butter and then crunchy topping.


Bake in oven at 375 degrees for 15 minutes.


While your chicken rolls are in the oven heat up your cream of chicken with milk on the stove. Once it's heated up pour a little on your chicken roll and enjoy!


Every Day Flawless Foundation


Every girl wants flawless skin, at least I know I do. This makeup tutorial will teach you how to correctly apply foundation, concealer and how to contour and highlight to achieve that flawless look. I will list everything used at the bottom of the post!

The first thing you are going to want to do is moisturize. Moisturizing your skin is such an important step that you cannot skip! I like to use one that has an spf of at least fifteen. Spf is important because it adds that extra protection against the sun which ages your skin prematurely. Another plus of using a moisturizer is that it helps your foundation go on smoother. In this tutorial I used "hope in a jar" which you can get at Ulta.


After you moisturize, let it soak in your skin for at least 5 minutes before you apply a primer. Primer is not necessary, but they have all kinds out there that help with different things such as: long-wearing, pore shrinking, mattefiying and many others. I used the "Becca Ever-Matte Poreless Primer" from Sephora.


Once your primer has set, you can move on to foundation. My favorite foundation right now is the liquid foundation from Becca. It's a build-able medium to full coverage foundation. Use a beauty blender to blend your foundation all over your face and neck/jaw line. Make sure blend very well in this area because no one likes a noticeable line.

(after foundation, before concealer)

Next up, concealing the under eye area. I used the "tarte creaseless" concealer from Sephora. Instead of concealing in a half circle right under the eye, you are going to want to conceal in an inverted triangle shape. You can use the mini beauty blender or your finger for this area. You want to use tapping motions or you'll just push all the product around. If you go from the outer corner of your eye towards the inner corner it will help the concealer not crease. Setting the under eye area with powder will also help with the creasing. I usually use the banana powder from the Anastasia Beverly Hills contour kit but today I used "makeup forever HD high definition powder."


Look at how much of a difference adding concealer to your routine makes!

I contoured ambers face using the "Anastasia Beverly Hills Contour Kit" with the deepest shade they have. I believe it's called "Fawn." Whenever you contour don't forget to shade in the top corners of your forehead to even out the color. After your contour, apply some blush to the top of the cheekbones. Today I used Mary Kay in the shade, "Citrus Bloom." I love to highlight the tops of the cheekbones and the Cupid's bow with Becca's "Champagne Pop."

Becca's "Champagne Pop"


Today I used "Too Face Chocolate Bar" to create a natural eyeshadow look. Always start with the light colors first and work your way towards the darker shades. I will do an in depth eye shadow tutorial in a future post.


You can finish off with just Mascara or add some eyeliner for a more defined look. For this look I used "Stilla Liquid Eyeliner Pen." I also filled in Amber's eyebrows using Benefit "Brow Zings."
Set everything with a setting spray, I used "Urban Decay's All Nighter Setting Spray." 

 Now you should have a natural, flawless looking face!


Products Used:
Mary Kay Blush (see local distributor)


DIY Tufted Ottoman

My next project is a tufted ottoman. I searched and searched all over for the perfect ottoman for our fifth wheel trailer but I just couldn't seem to find one that would fit nicely in the living area. I wanted one with storage for all our extra throw blankets and our new couch is pretty tall, especially when it's sitting up on the slide out ledge. After I couldn't find one for a reasonable price that could meet my requirements I decided to make one myself! Here's the finished product.


Supplies needed:

Storage chest 
Foam pad
Upholstery thread
1 1/2 yard fabric
Round decorative buttons
Regular buttons
Spray paint or wood Stain (optional)
Sand paper (optional)
Long needle 


Tools needed:

Power drill
1" paddle drill bit
Staple gun

First, remove all the hardware from your chest. I also took the lid completely off so I could cover it with the fabric easier. Then cut out your foam pad so it's almost the same size as your lid. I made mine just a tiny bit smaller. I used a 3" poly foam chair pad from hobby lobby which worked great. 

After your foam is cut to the right size you will need a ruler or something with a straight edge so you can make your tuft pattern. I just eye balled the pattern but if you want your tufts to be more precise you can figure out the exact measurements and go from there. After you draw your pattern on the foam you need to take a 1" paddle drill bit and make holes wherever your lines cross. Make sure you only use the paddle drill bit on the foam and not through the whole lid. This is what your pattern should look like. 

This is just a rough sketch, you'll want to complete your lines across your entire foam pad.

After your 1" holes are made, take a regular drill bit and make small holes in the same pattern as on your foam. You'll want to make sure they are lined up really good so your tufts are even. I didn't get a picture taken at this point so here is a picture from another blog post that I used as a guideline.

You can check out their blog post here.

After all the holes are drilled you're halfway there! Get your thread and needle and tie a regular button on the end of the thread. The regular button is going to be used like a washer. It will keep your decorative button tight and in place on the top of your ottoman. I wanted to be as thrifty as possible so instead of spending a lot of money on buttons I went to my local craft store and picked some out of the button basket.


Start on the top middle hole and thread your needle through the lid and the foam and lastly your decorative button. Thread it back down through the same hole and tie it off on the regular button underneath. You'll want to make sure your decorative button is pushed down all the way through your hole in the foam so it creates nice tufts. I couldn't get them down tight enough by myself so I recruited my husband to help with this part. After all your decorative buttons are in place your tufts should all be done! This is what it looks like from the inside of the lid, not very pretty but you can cover it up with another board or some fabric. I just left mine how it is because I'm the only one who will ever see underneath the lid. Staple the extra fabric under the lid so it's all tucked away.

The last part is optional, spray paint or stain the bottom half of your chest and let it dry for a few hours. After it's completely dry, lightly sand over some of the box so it looks distressed and not all a solid color. Replace your hardware and reattach the lid and you're done! It's that easy! Here's a before and after picture. 


Bridal Pics!

Bridal pics! check out my photographer, she was incredible and super fun and comfortable to work with! Jessica Calderwood Photography


Wedding Pics!

Wedding Pictures!
here are some cute pics from our July wedding! My photographer was amazing! Check her out,
Jessica Calderwood Photography